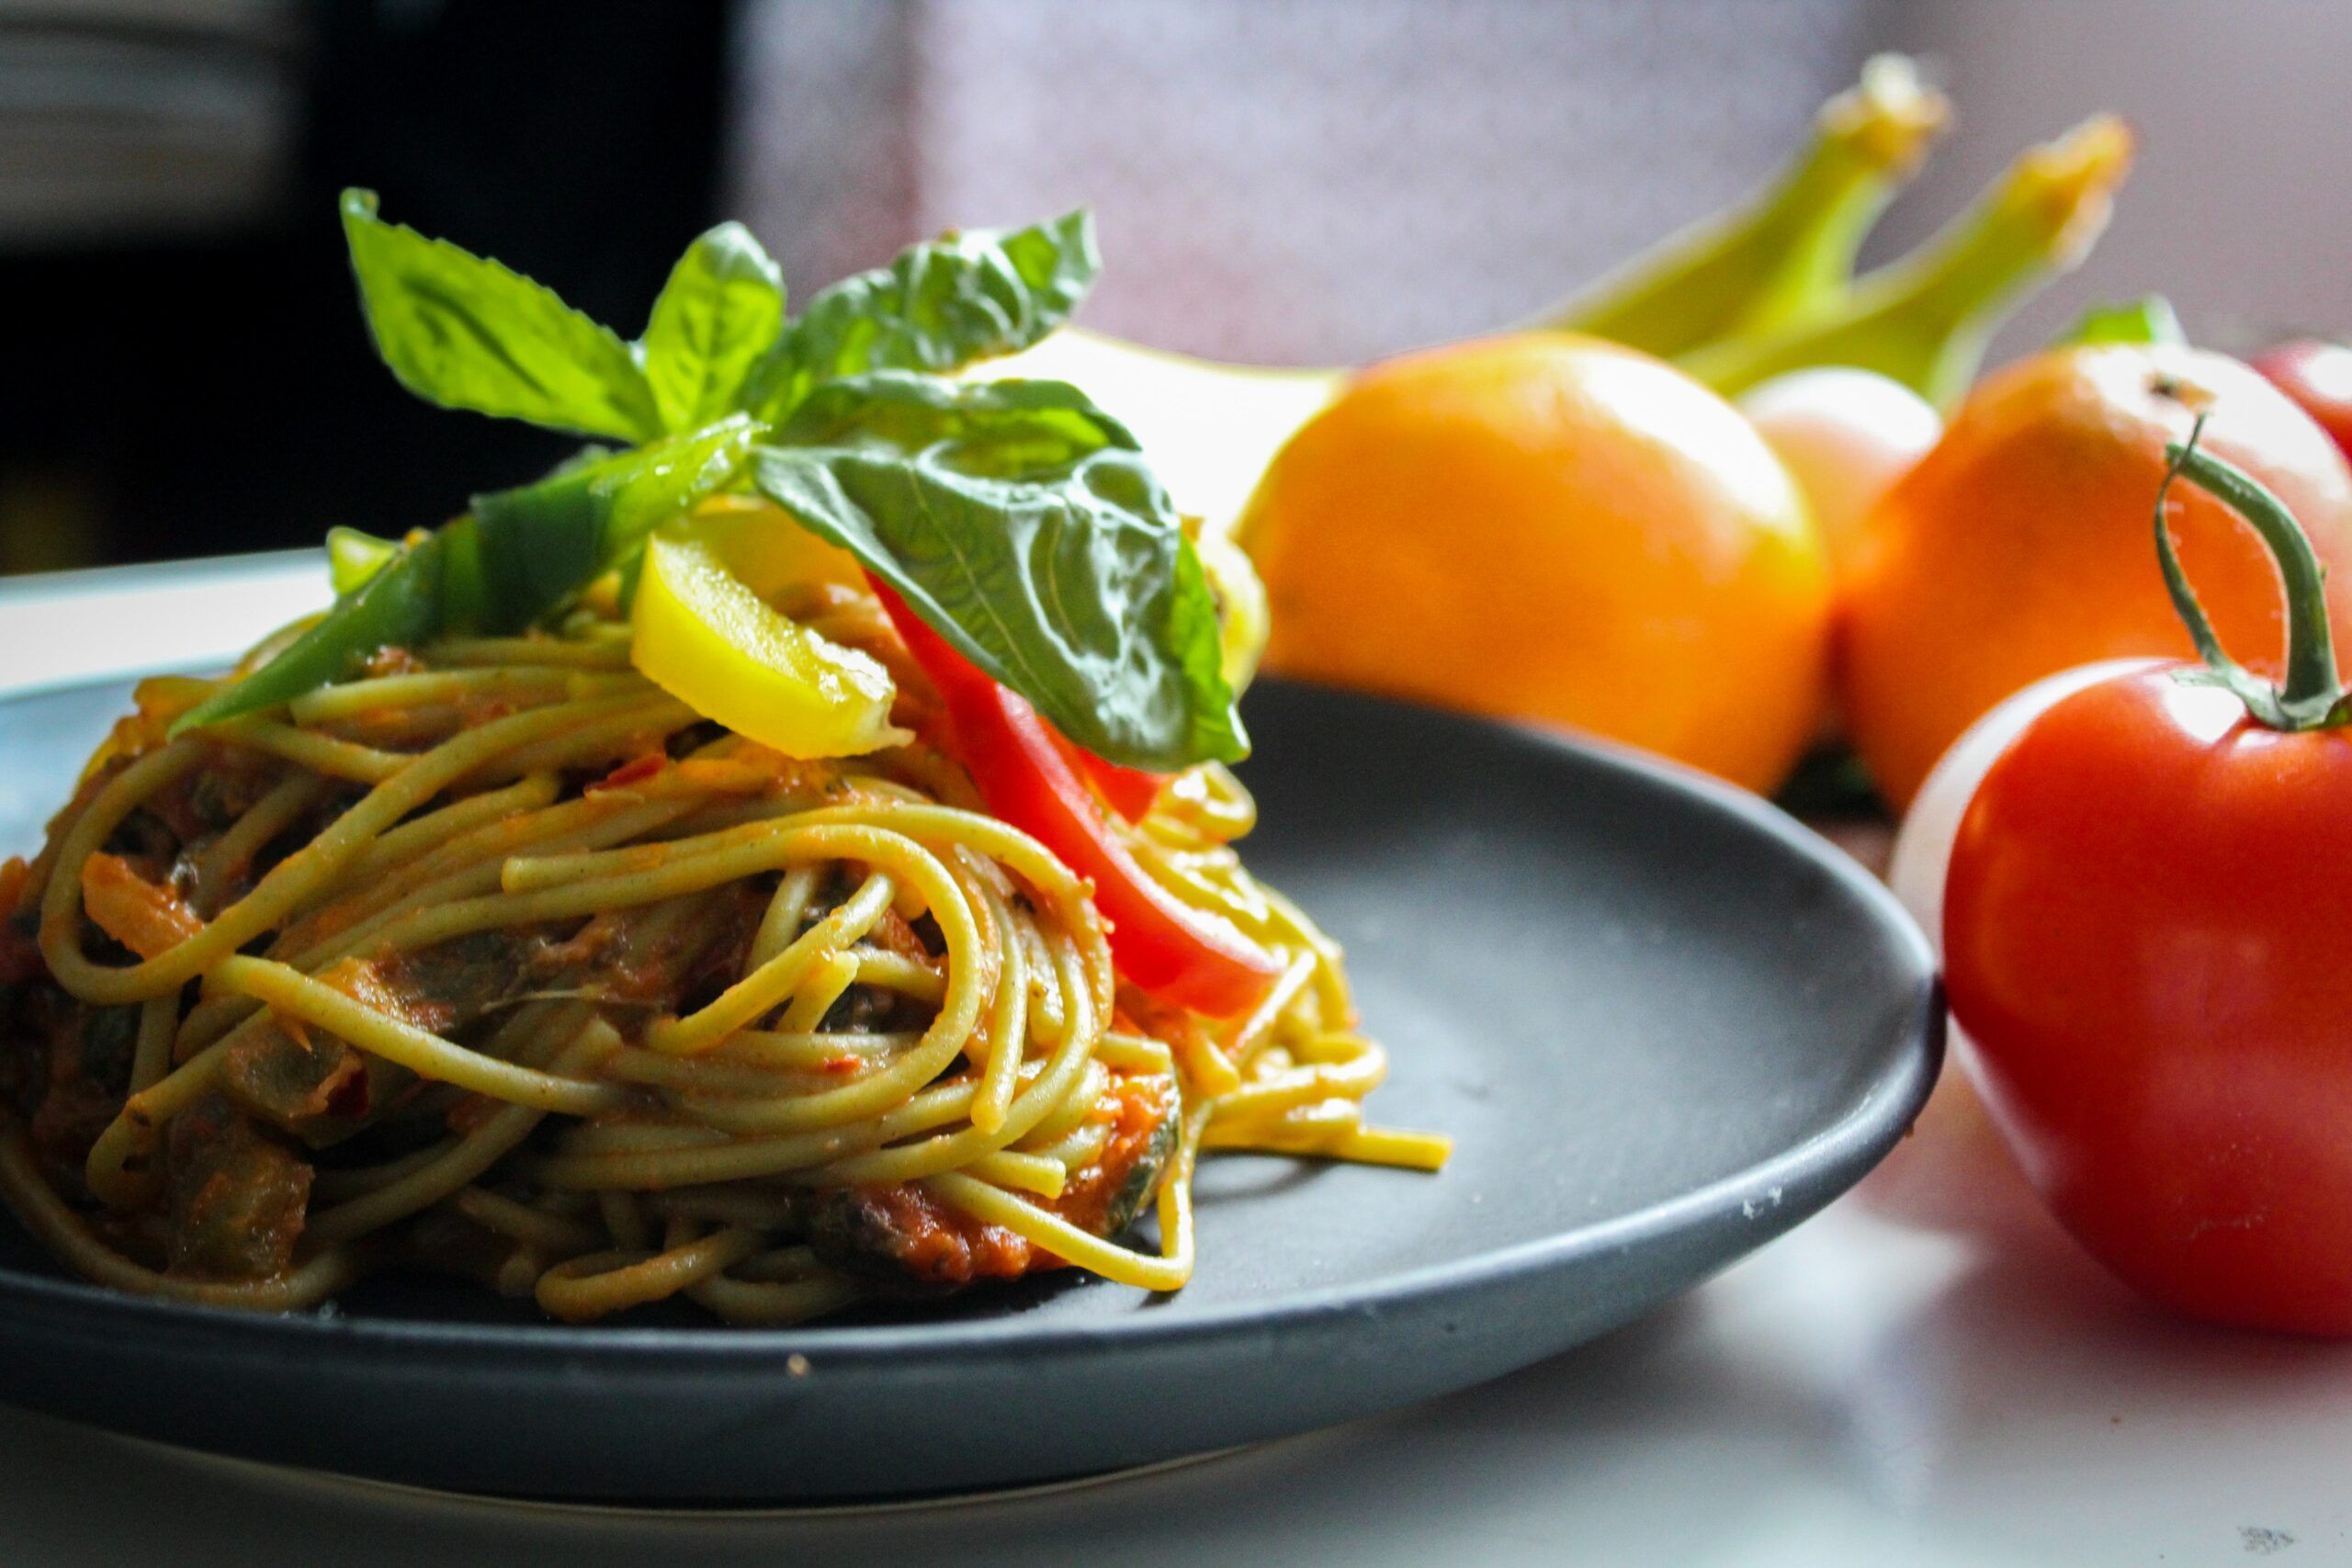
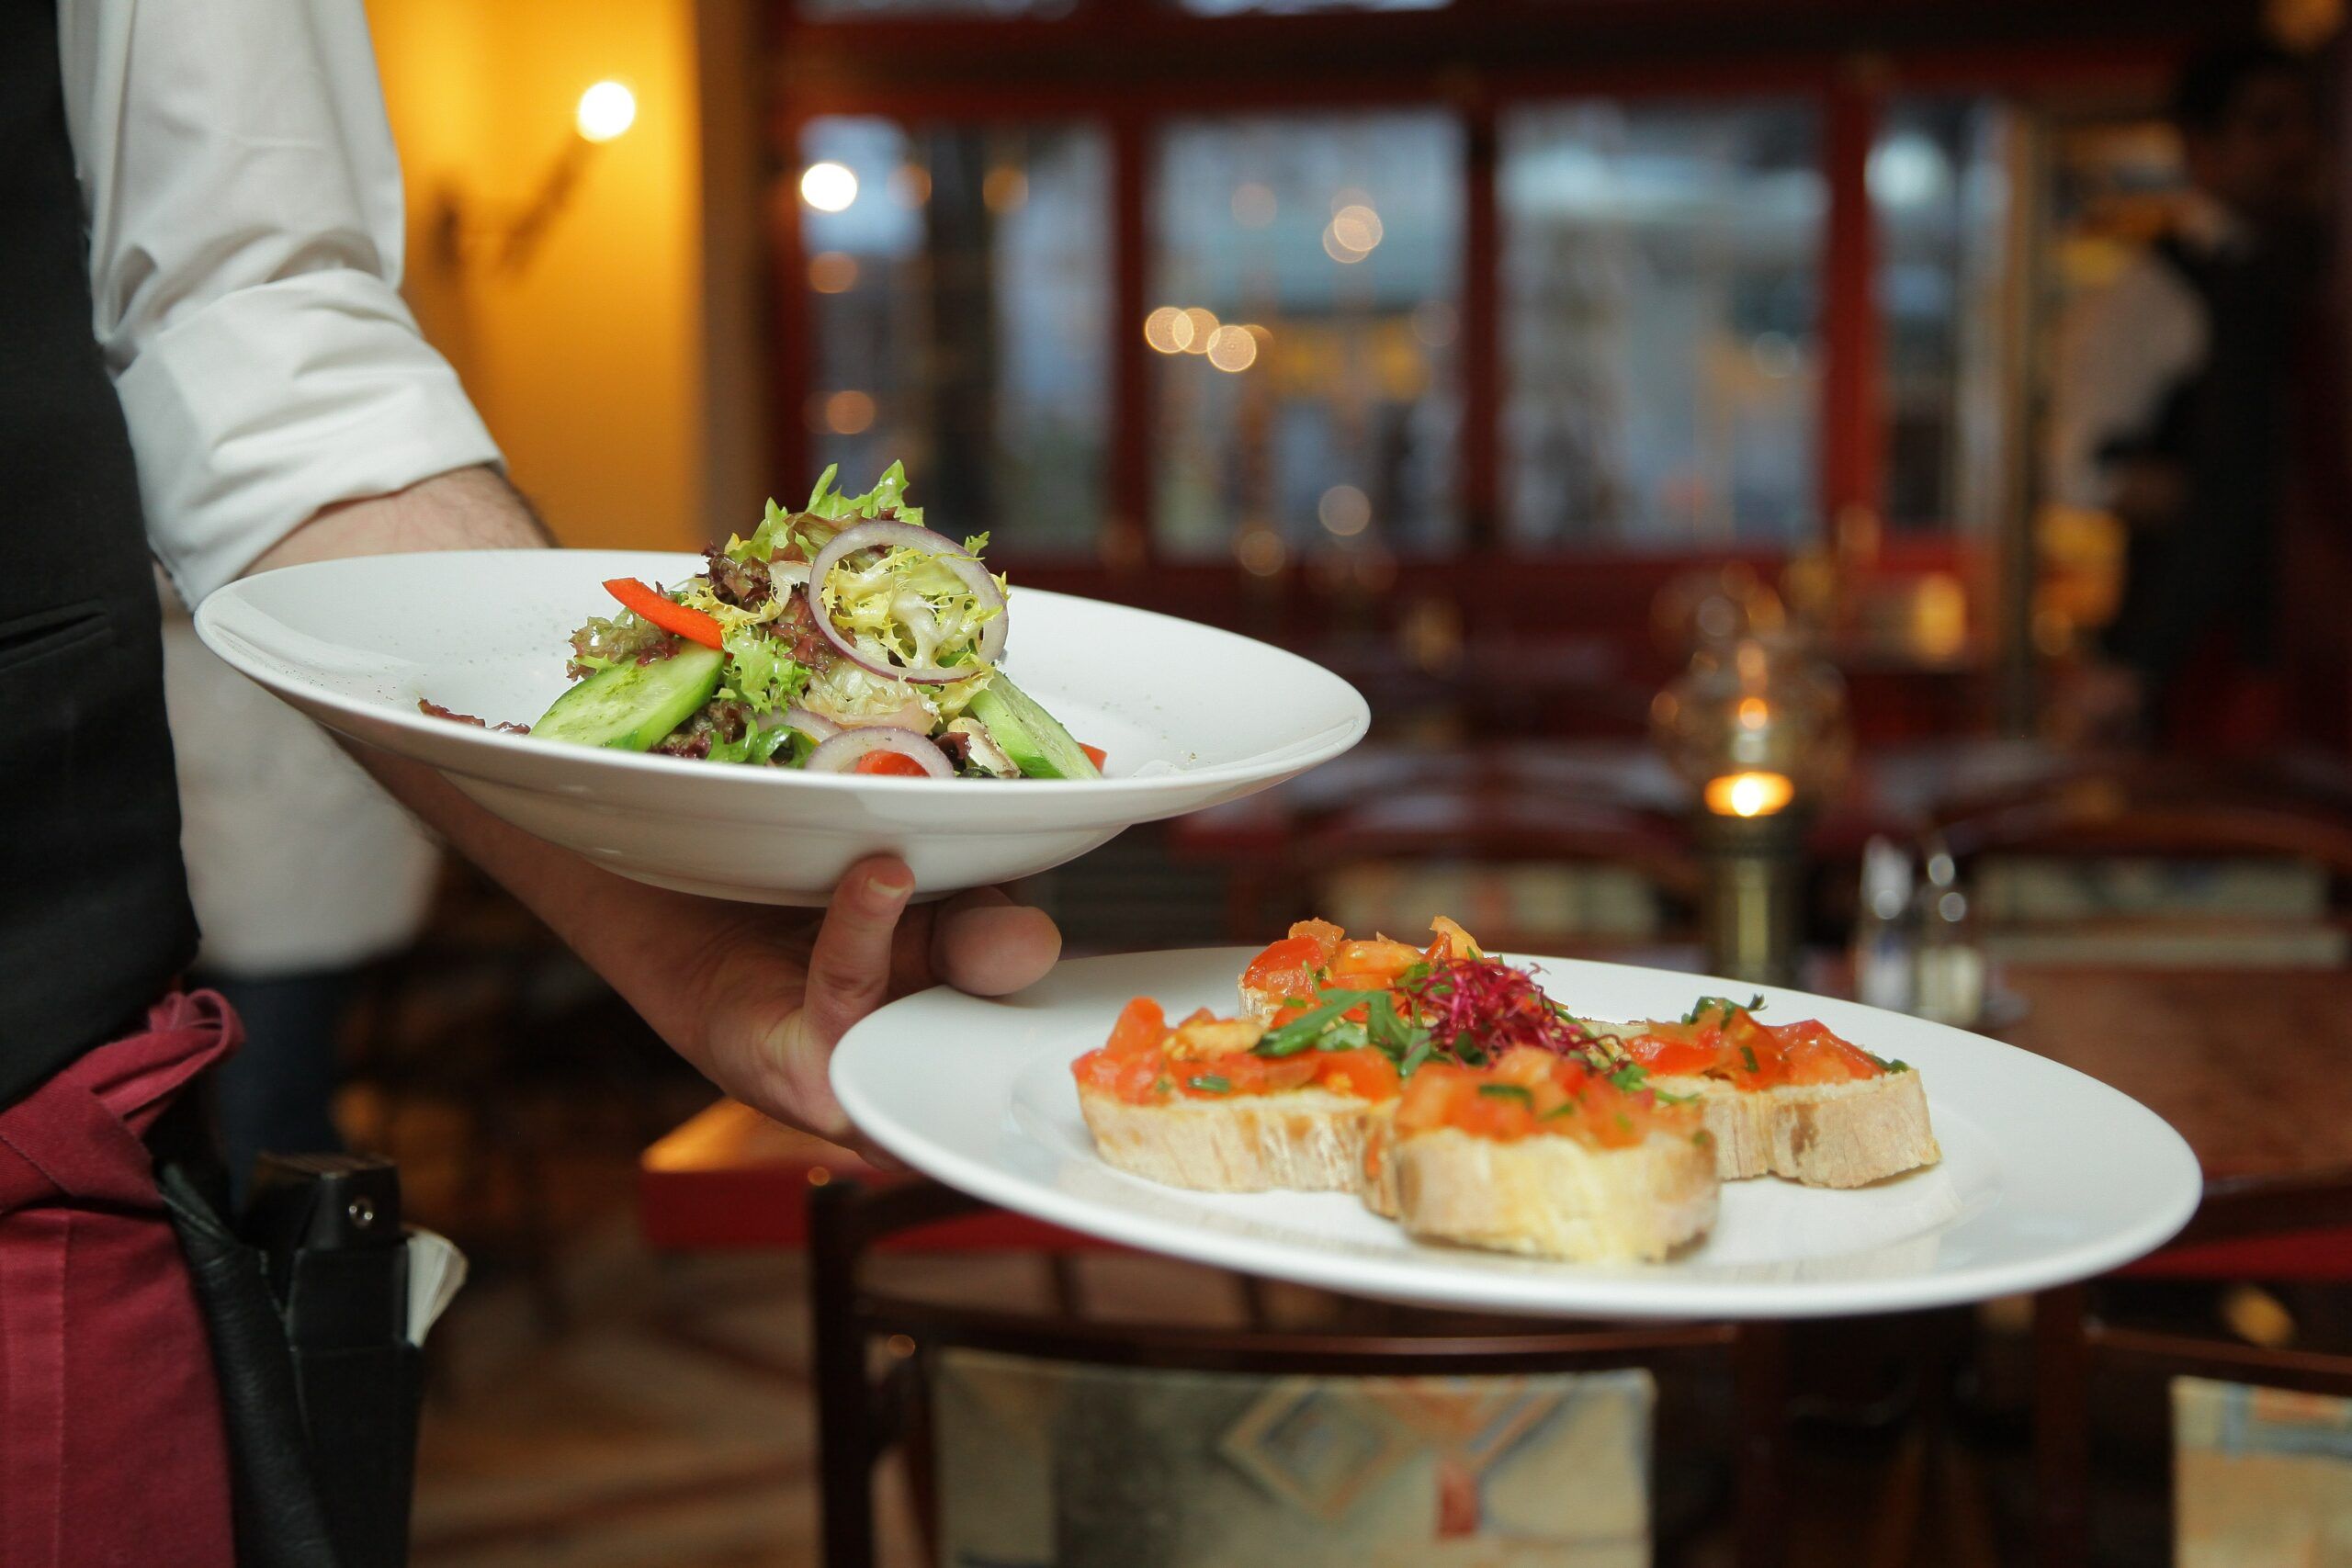
When shooting food for your restaurant, lighting is paramount. Whether you’re using natural sunlight or artificial light, keep it consistent and try to use either one or the other throughout your shoots.
Capturing delicious and flattering food photos requires approaching each with a creative eye: setting up the food in exciting compositions and experimenting with props and different angles.
You’re preparing these dishes specifically for pictures, so do your best to make the food as attractive as possible. It doesn’t have to be perfect, but this extra effort can make a difference in the finished product.
Remember, your customers will be deciding on if & what to order from your business based on these photos!
Keep reading for some great lighting tips for menu photos from Orders.co to take your food photography to the next level.
Shoot Horizontal
All your images should be shot horizontally. This helps to keep the image well-balanced and allows you to display your menu items most appealingly.
Doing so gives each image visual symmetry, ensuring that all the items included will be presented in an eye-catching and substantial manner.
Emphasizing these visuals in an appealing, professional, and creative fashion can help give your menu a unique touch.
Try a Tripod
While not necessary, you may use a tripod to get consistent and clear pictures; this will be worsened in lowlight rooms. So, try to use a tripod for sharp photos if you can.
Investing in a tripod can help you produce crystal-clear images that are more likely to leave an impression on potential customers. A good tripod will remain steady and reliable, creating consistent images regardless of the lighting in the room.
Lighting matters
Consider choosing the best light source the most crucial step. This is where most of the work will be. It’s easier than you think, but there are a couple of guidelines you must follow:
Natural lighting is the best
Using natural lighting as a backdrop for your menu will broadcast its quality to your customers. Choosing a window with abundant sunlight and diffused light is the optimal choice – preferably in the morning hours while the lighting is at its softest.
Allowing this warm, soft light to lay over your food will make it look more delicious and attractive, enticing customers and making them excited to order from you.
No harsh shadows


Avoid direct sunlight. This will cast harsh shadows and blow out the highlights. Pulling away from the window and bringing the subject into the shade will prevent this.
If you only have access to a window that casts harsh shadows. You must try your best to soften and diffuse the light. There are different ways you can achieve this. Easiest is to wait for a cloudy day; the clouds act as a huge Softbox.
A thin white sheet over the window will also defuse and soften the light. Even some white wax paper on the window will work as a diffuser.
Also, the reflective surface or the backlight surface can be used to add drama and create interesting shadows.


No Flash
As the main subject, our number one tip is to turn off your flash to ensure your menu looks enticing. Flash can be incredibly harsh and creates uneven lighting, giving the food a “deer in the headlights look.”

No Overhead Lighting
While it would be a convenient way of taking pictures of the dishes you offer, the colors of the food are usually rendered differently in this type of setting.

Instead, the colors tend to become muted and appear unpleasant or unappetizing – making all your hard work look less than its best. To avoid this issue, opt to use natural light coming as much as possible when photographing your menu items.
Your Inbox, Your Rules!
Tailor your newsletter with the topics you're most interested in.
Use a reflector: Fill Shadows


Adding a reflector to your menu photography is an easy way to add an attractive flair. Unlike additional lighting equipment like softboxes, there’s no need to purchase an expensive product – a white foam board or large piece of white paper will suffice!
Just bounce some of the light onto the shadow portions of the scene and watch as the image comes partly to life.
This simple technique can make food look more inviting and delicious without much effort or expense.
Ideal Set Up


Typically, you want to photograph food from a position where at least one of the following things is true: it looks most appetizing or best shows off the dish.
While certain foods may be more obvious than others, here are some examples:
Overhead: For food like pizza, soups, salads, etc.
45 Degree: For most foods, combos, etc.
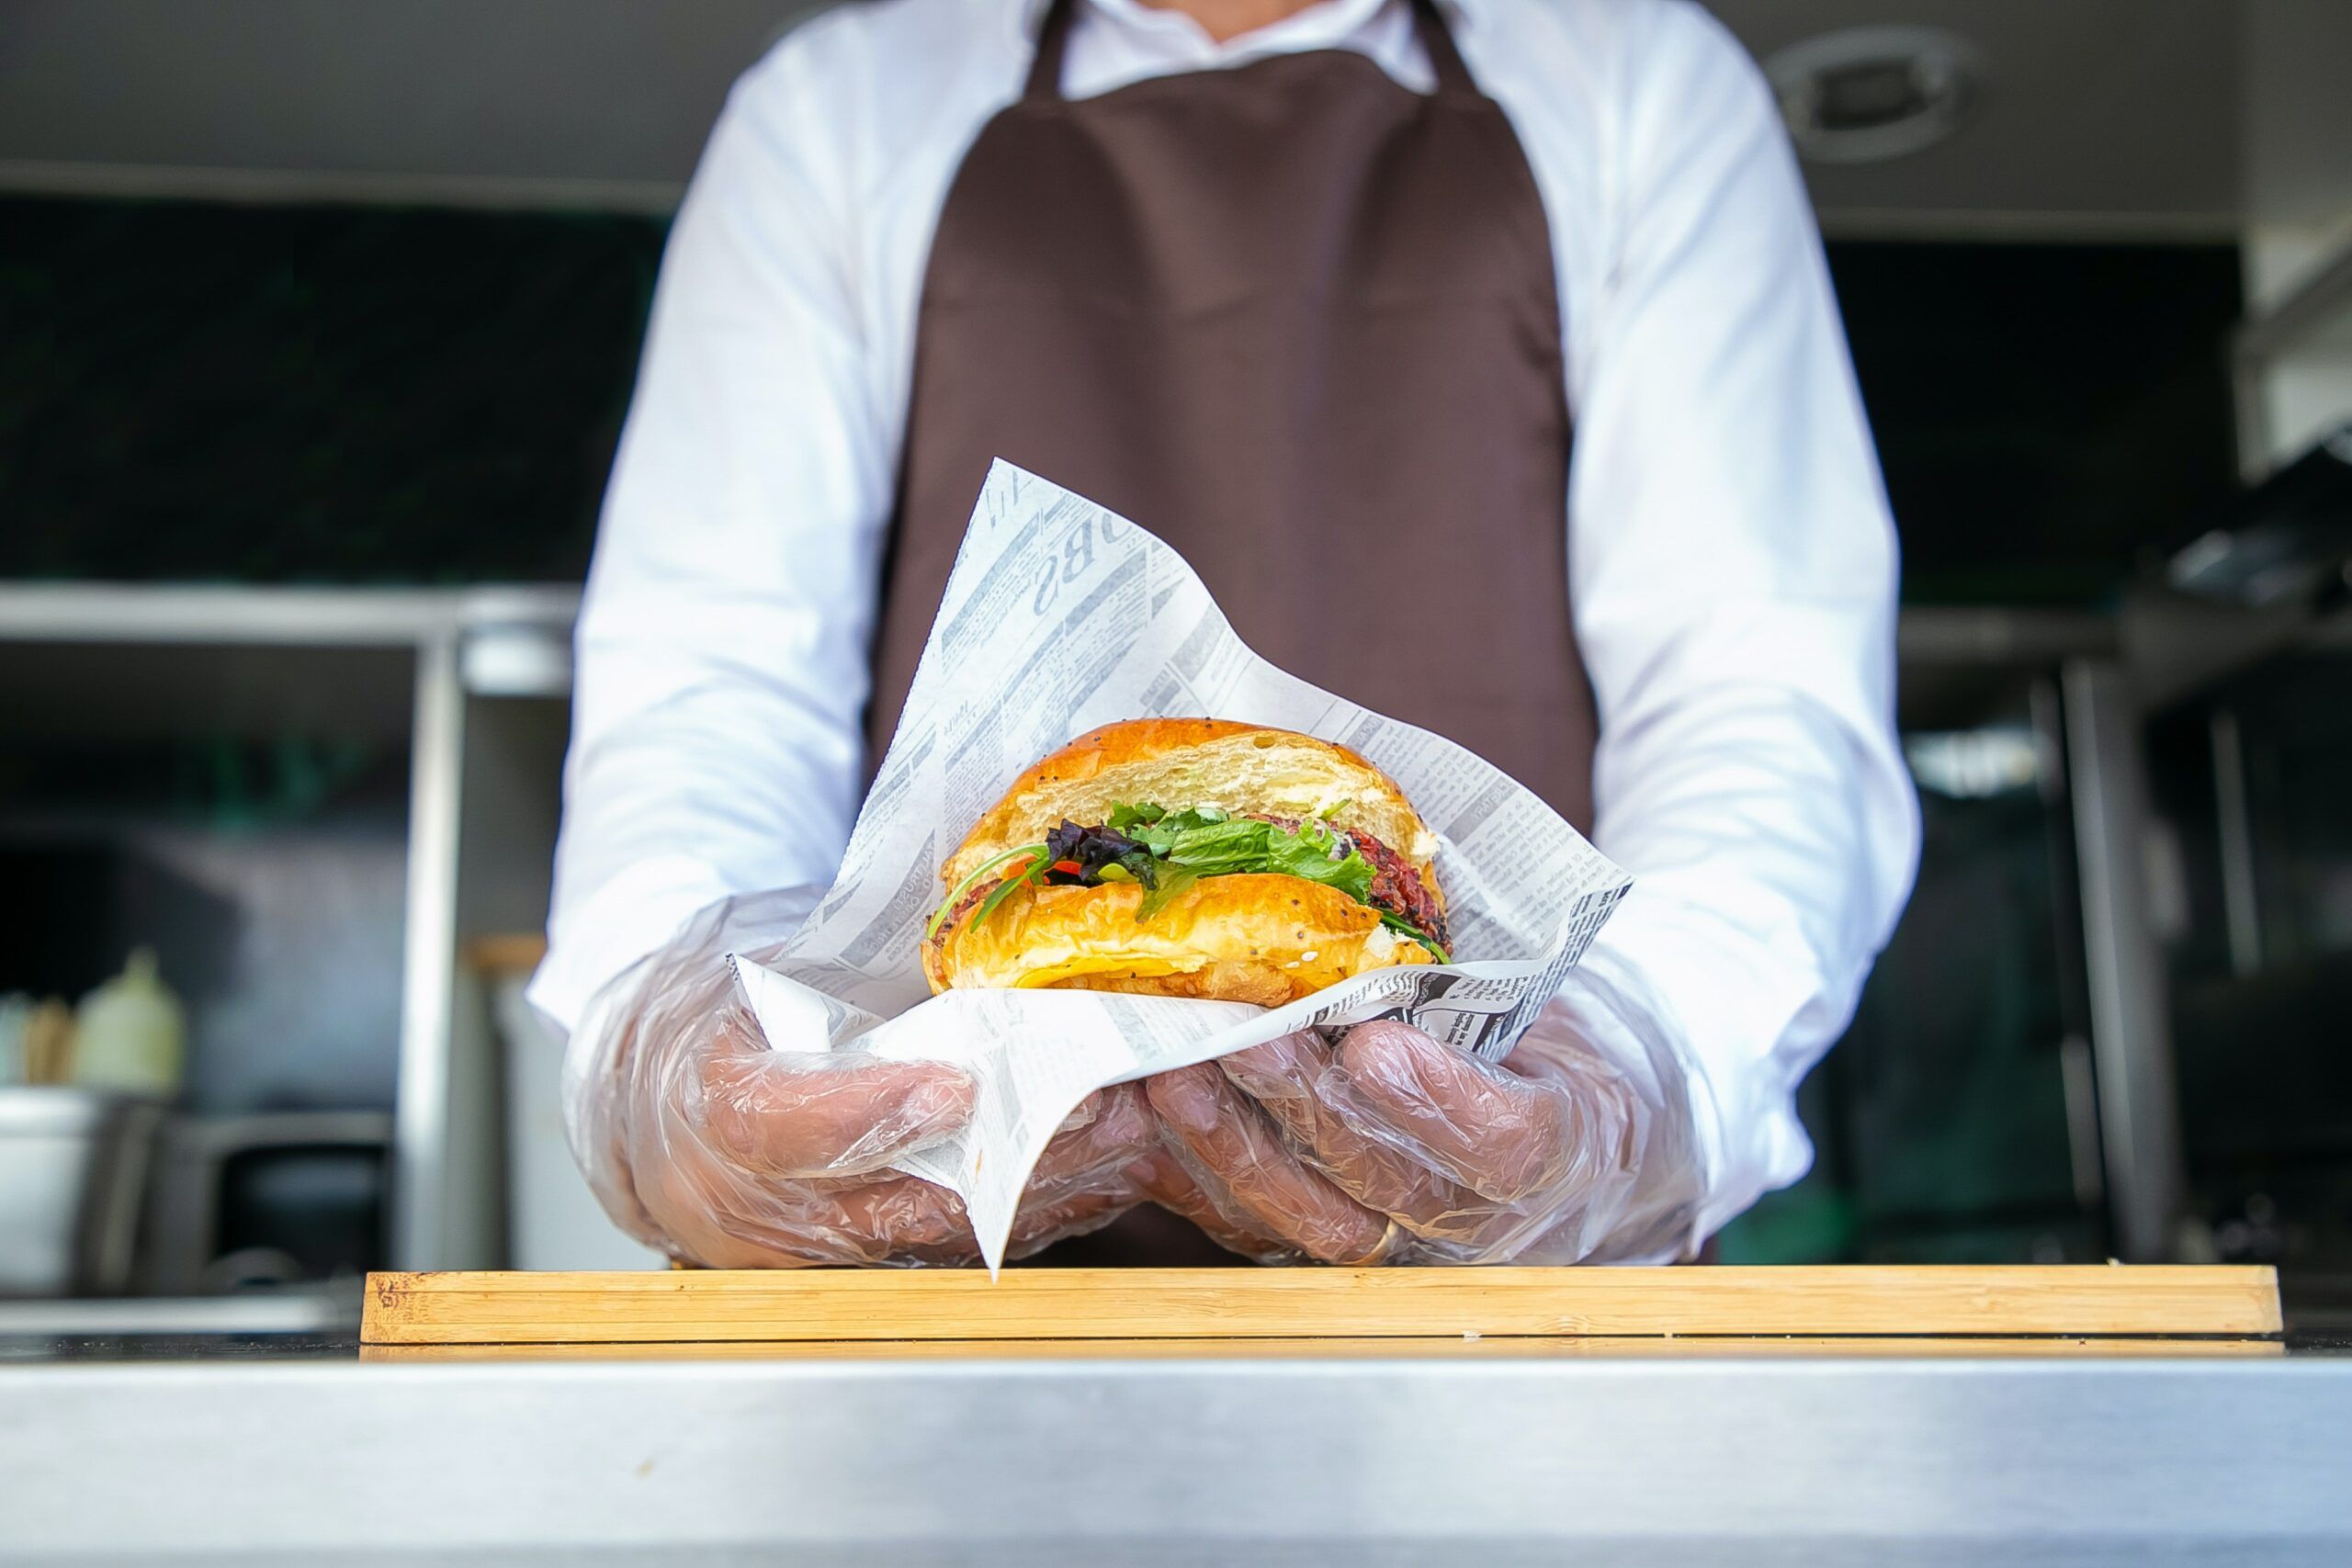
Straight On: For food like burgers and sandwiches.


You can always take a minute to search for pictures of the dish you’re photographing for some ideas. Don’t forget to consider your background depending on your shooting angle.
Also, do your best to pick the best side of your dish; food like burgers can be spun around for a completely different outcome!
Final Image

All of these food shots were taken with an iPhone SE 2020, so you don’t need a professional camera. If your food images are too dark for your liking, you can use a filter to brighten them up.
Here, any photo editing app will work. Your final should look something like this, not hard & dark shadows and well-lit. If needed, adjust the color saturation to make the food pop out. But also be careful not to overdo it.
More Pro Tips
Consider third-party delivery apps’ photo guidelines. Don’t show any logos; some providers will automatically deny your image due to a logo displayed, whether the logo is from the salt packages or your own restaurant.
Frame your image properly; right in the center will work best, and don’t get in too close; you want to see the whole dish.
Double-check the size you need for your providers. Some will resize your image, zoom in, or crop, which can affect quality.
Set up once! We understand that restaurants can get busy, and getting pictures may not be a priority; you may want to do most of your content at once.
This will make your images consistent in lighting and background; while not necessary, uniformity between the images will make your website & menu look more professional.
Orders.co; QR Menu Maker for Restaurants
Check out our QR menu maker at Orders.co; it’s a great solution for displaying your menu items and letting customers order directly from their phones.
Take pictures of the dishes, easily upload them, scan the QR code & browse the menu for the best dining experience!
We hope these food photography tips help you take better food photos to attract more customers and dress your dishes up for success. Bon Appétit!


